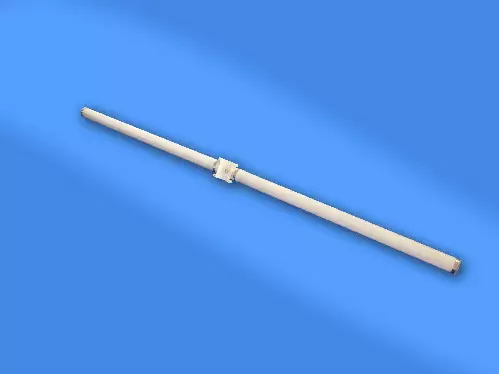
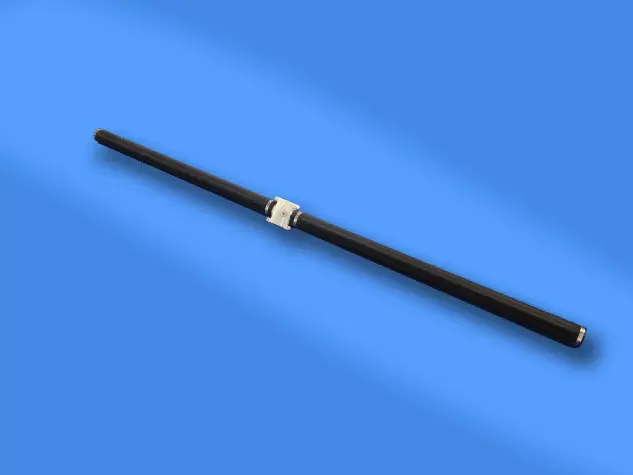
Saddle-Type Tubular Aerator
Tubular aerators are aeration devices fixed to the bottom of a pool. They offer advantages such as simple structure, high oxygen utilization rate, reliable performance, resistance to clogging of pores, prevention of sewage backflow, uniform circumferential stress, long service life, and convenient installation and maintenance. The system is also inexpensive. During aeration, pressurized air enters the air guide tube and air channel through the air distribution branch pipe and air supply pipe, forming an annular air chamber between the aeration membrane tube and the support body. This causes the aeration membrane tube to inflate, allowing air to be released into the water through the expandable micropores on the membrane tube. When air supply stops, the membrane tube elastically contracts and grips the support body, and the micropores also close as it rebounds, preventing water from flowing back into the air channel.
Product Descriptions
Product Material
The tubular aerator consists of an inner liner, diaphragm, and clamps; the aeration diaphragm is made of silicone rubber or EPDM, and the inner liner is available in UPVC or ABS; the clamps are made of 304 stainless steel.
Specifications
Φ63.
Product Advantages and Features
Ø Long lifespan of the composite diaphragm, reaching 5-8 years, overcoming the shortcomings of easily tearing and short lifespan of rubber diaphragms;
Ø Strong impact resistance, not easily damaged;
Ø Air pores are not easily clogged, preventing backflow of wastewater;
Ø All materials are corrosion-resistant.
Installation Process
Ø Tubular aerators are generally evenly distributed at the bottom of the water treatment tank, 100-250mm from the bottom, with a longitudinal spacing of approximately 500mm.
Ø Cut the main aeration pipes according to the drawings, mark the pipe lines, and determine the position of each set of tubular aerators;
Ø Install the diaphragms (this equipment is supplied separately as a complete set of tubular aerators and diaphragms). When installing the diaphragms, ensure that some non-perforated diaphragms are installed perpendicular to the ground, and tighten the clamps at both ends of the diaphragms;
Ø Install the adjustable brackets for the main pipes, leveling each aeration main pipe to the same horizontal plane;
Ø After the diaphragms are installed, install the complete set of tubular aerators at the previously pre-drilled positions; (note that the pre-drilled positions should be on the same horizontal plane);
Ø After all pipes are installed, install the aeration risers;
Ø Install the tubular aerators.
Installation Precautions
Ø Tighten the diaphragm mounting clamps.
Ø Ensure all pipes are level and on the same plane.
Ø Use O-rings for the center connectors.
Ø After drilling the main aeration pipe, it must be purged before installing the tubular aerator.
Ø During and after installation, open flame operations such as blasting are strictly prohibited on site. If such operations are necessary, cover the aerator with fire-resistant material to prevent damage.
Ø Do not throw or drag the aerator during handling and installation to avoid abrasion of the pipe walls.
Ø After installation, check that all connections meet the requirements.